
Brisbane handyman projects
See a security door handle replacement, a gate hinge and pillar repair, an outdoor stair handrail repair, and a gate landing path taken out and re-poured. Each example shows the damaged or prepared area beside the finished work.
Also below: two on-site views of a sliding screen door, showing the existing door and doorway.
Security door handle replacement
The original cream handle and latch are shown before replacement. The finished view shows the new matching handle fitted to the same security door frame.
For a similar fitting or latch problem, see general handyman and carpentry repairs. A security-door handle replacement is a hardware job; it does not by itself call for timber-door refinishing.
- Existing handle and latch removed
- Replacement handle aligned with the existing frame
- Cream finish matched to the door
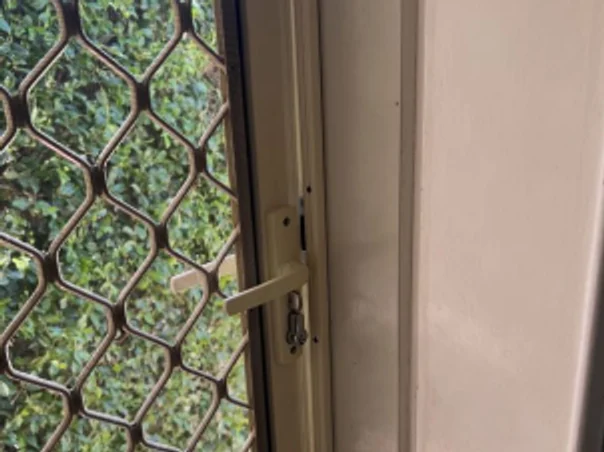 Before
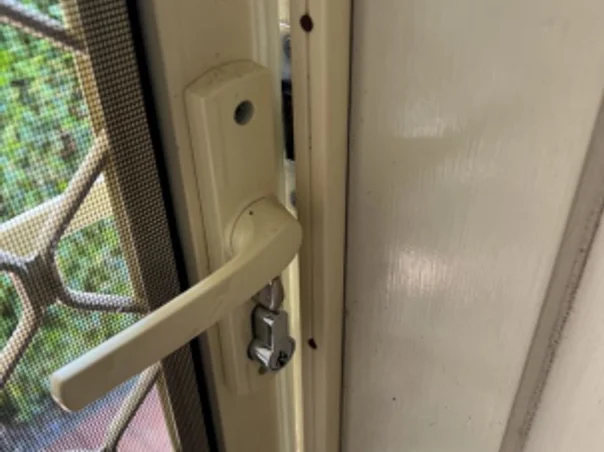 After
Gate hinge and pillar repair
The close-up comparison shows the chipped pillar finish around the existing hinge, followed by the repaired and neatly sealed surface.
For a gate fixing or surrounding repair, see general handyman and carpentry repairs. Show the hinge, gate and pillar together so alignment and surface making-good can be discussed separately.
- Existing hinge and gate alignment retained
- Chipped area around the hinge repaired
- Pillar texture and colour matched for a clean finish
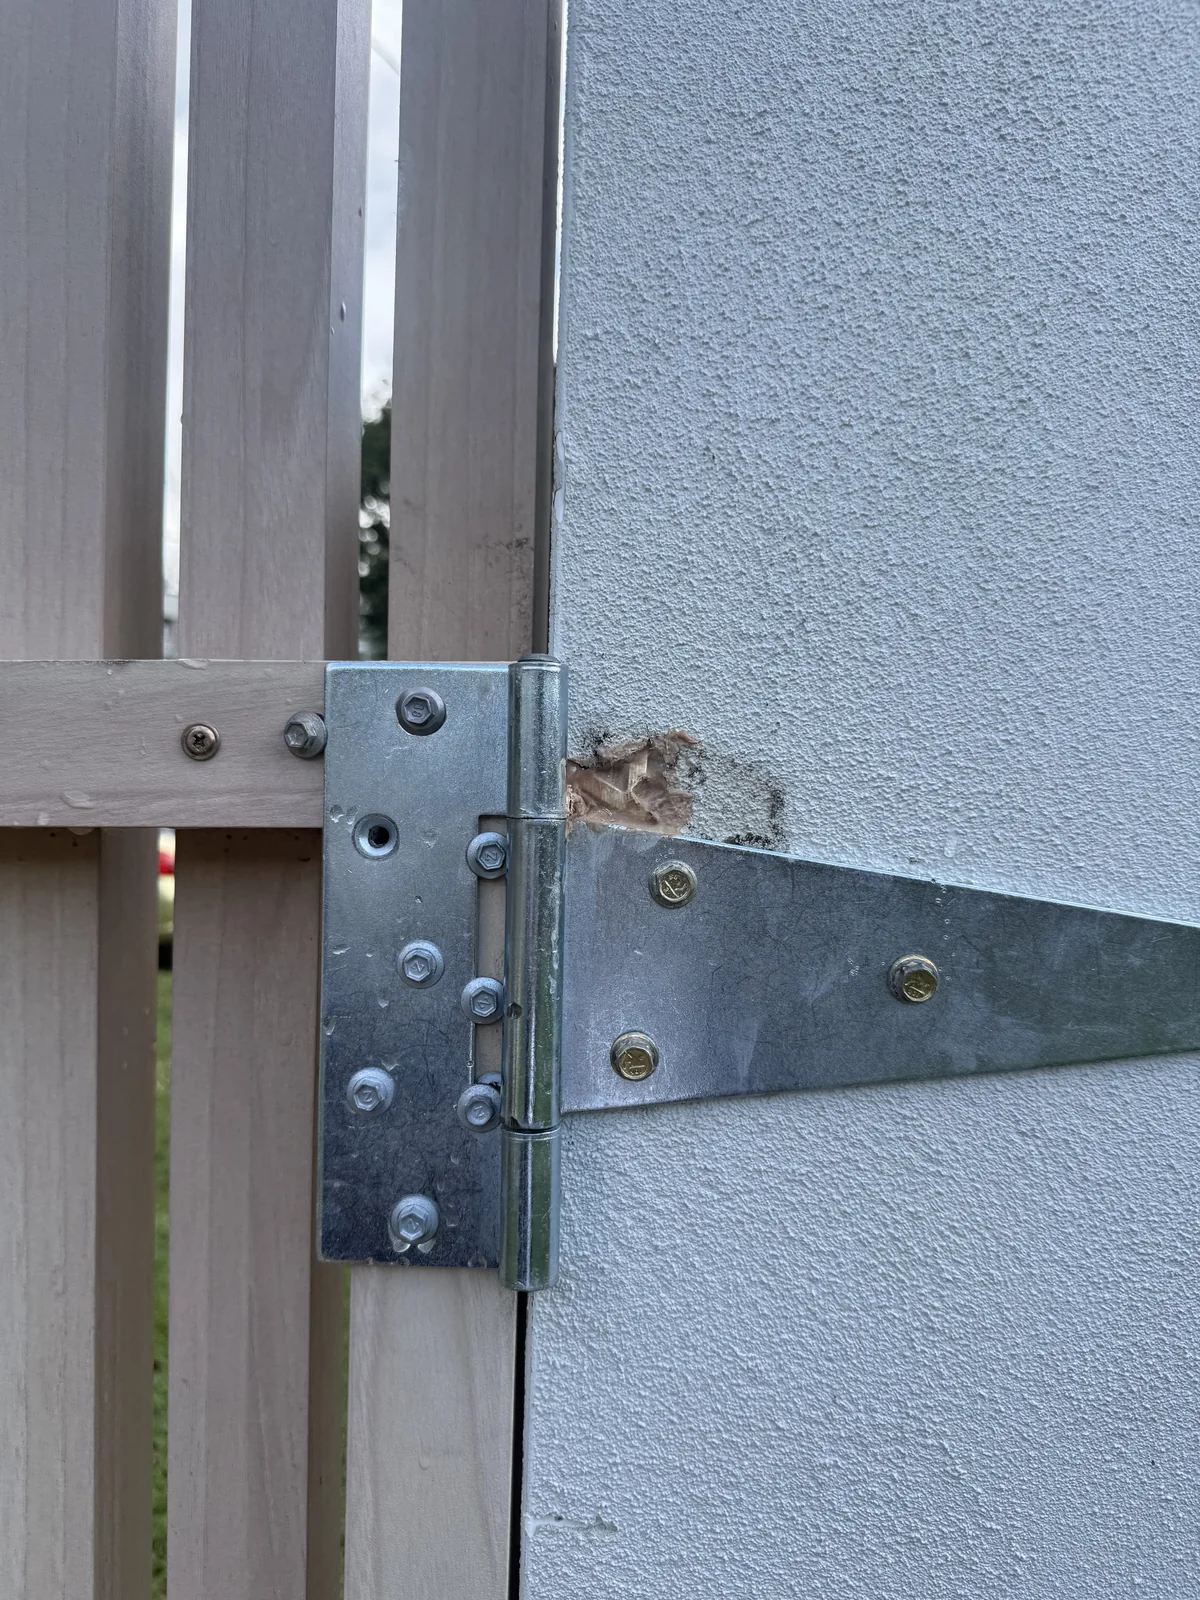 Before
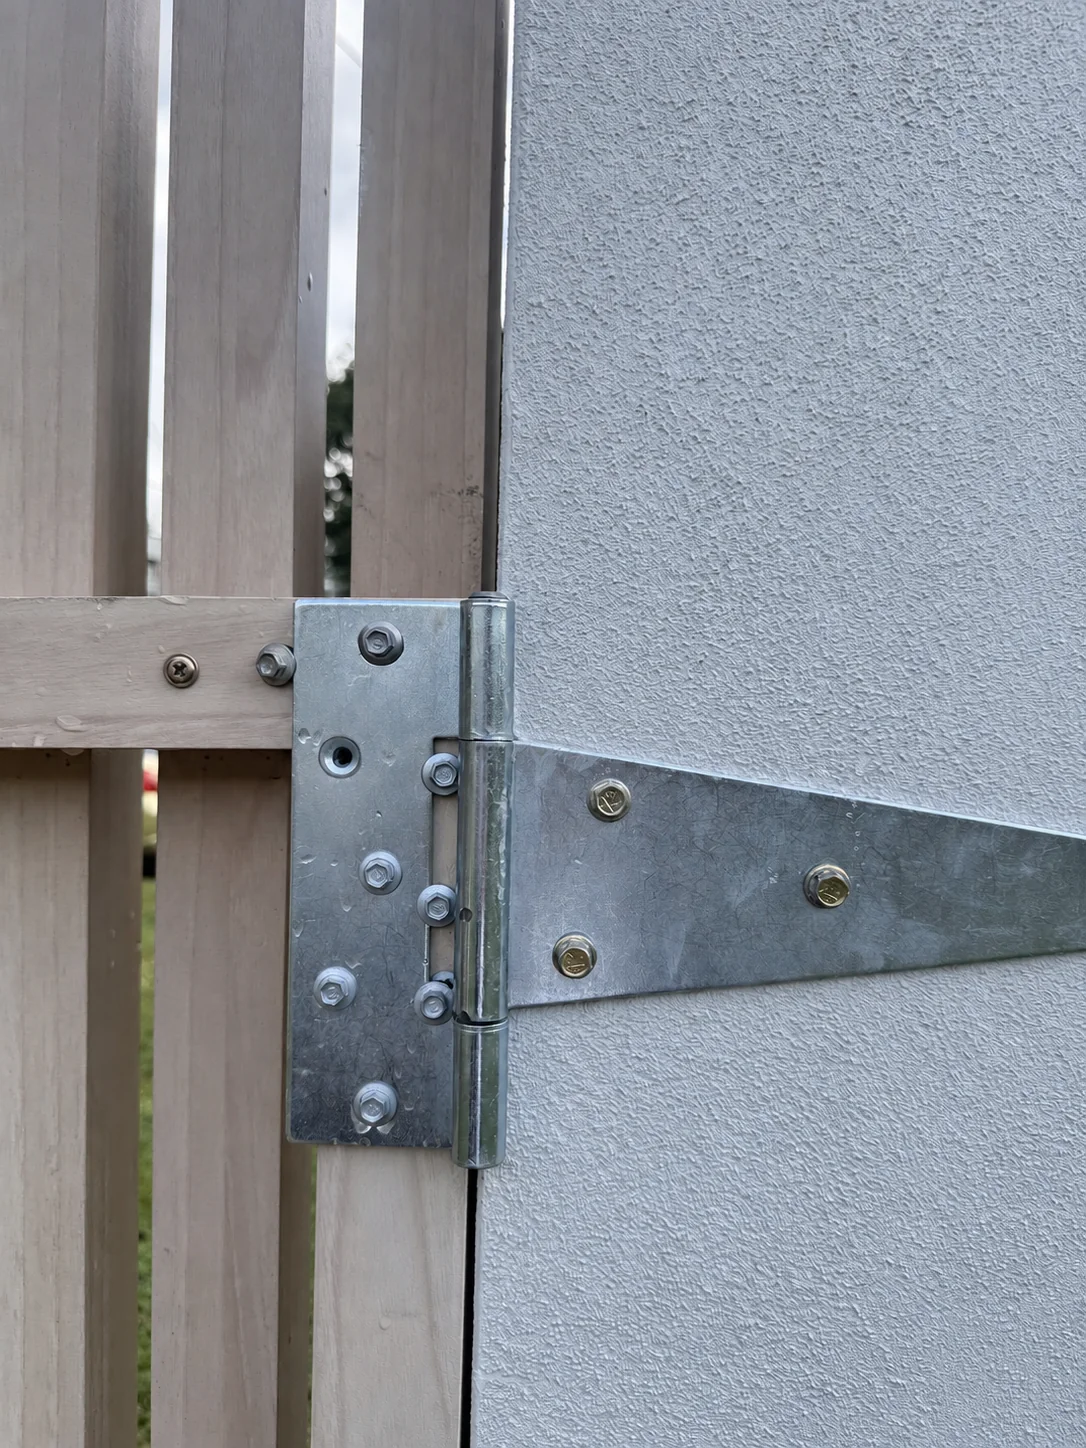 After
Outdoor stair handrail and balustrade repair
The before view shows a split lower post and loose ornamental balustrade sections beside the stair. The completed view shows the handrail line restored and the retained ironwork neatly aligned and refinished.
For a similar rail or support problem, see general handyman and carpentry repairs. Include a whole-stair view from a safe position and identify any loose or damaged parts; the suitable repair scope must be assessed for the actual stair.
- Damaged lower support post repaired
- Ornamental balustrade sections refitted along the same stair
- Handrail and repaired metalwork finished in a consistent dark tone
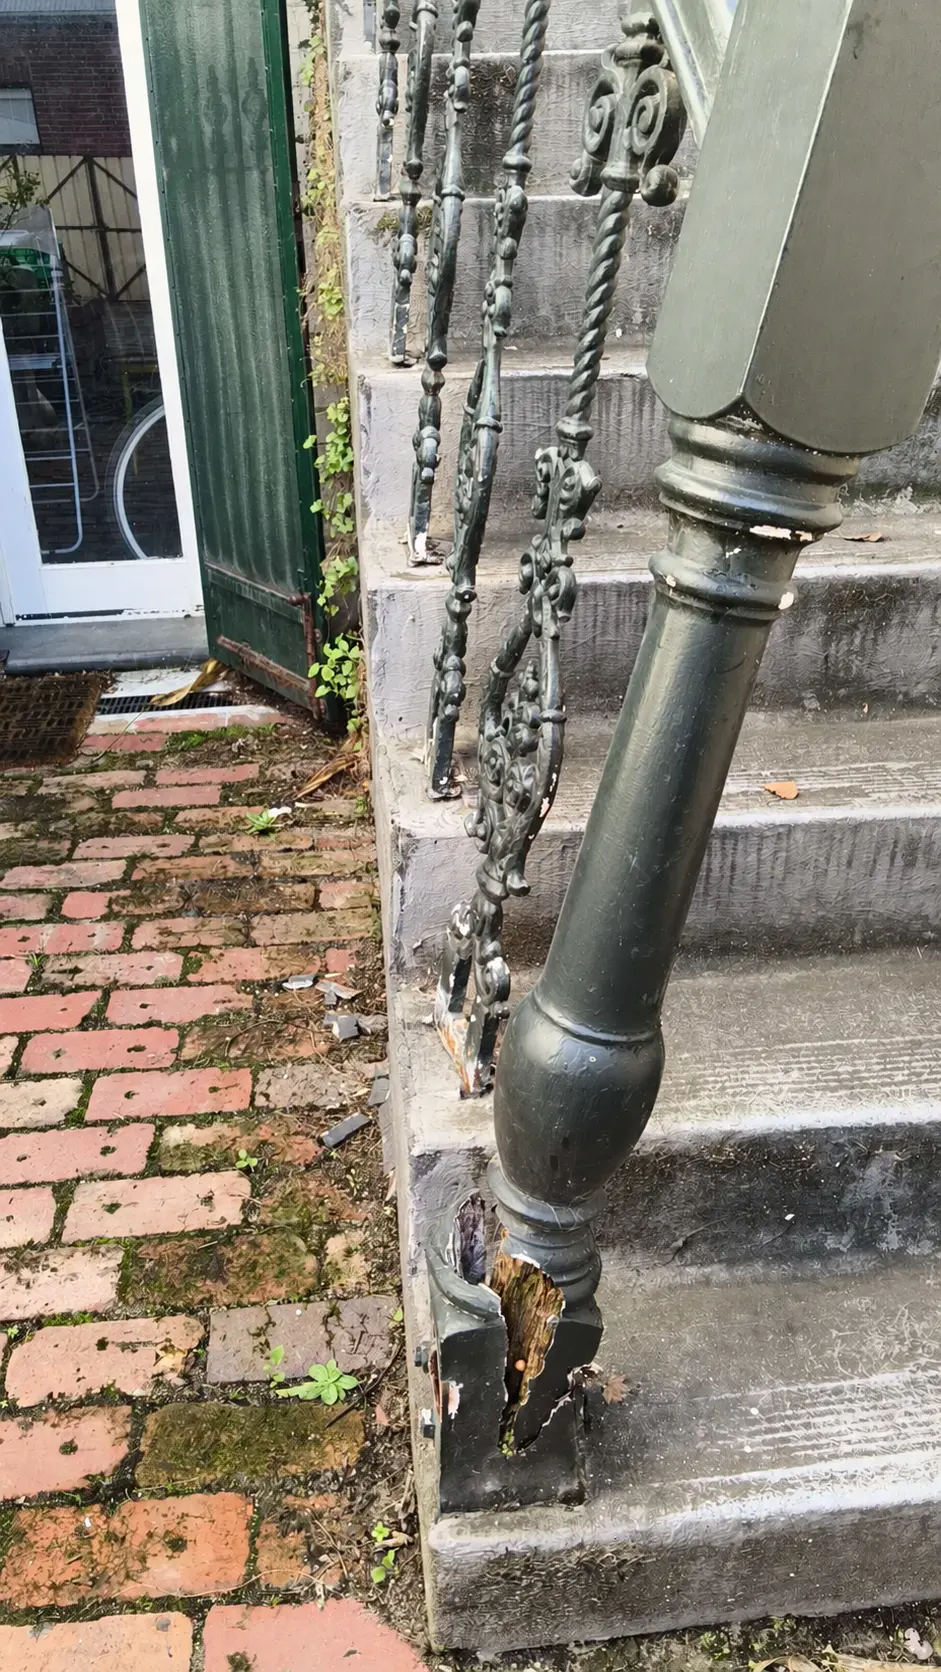 Before
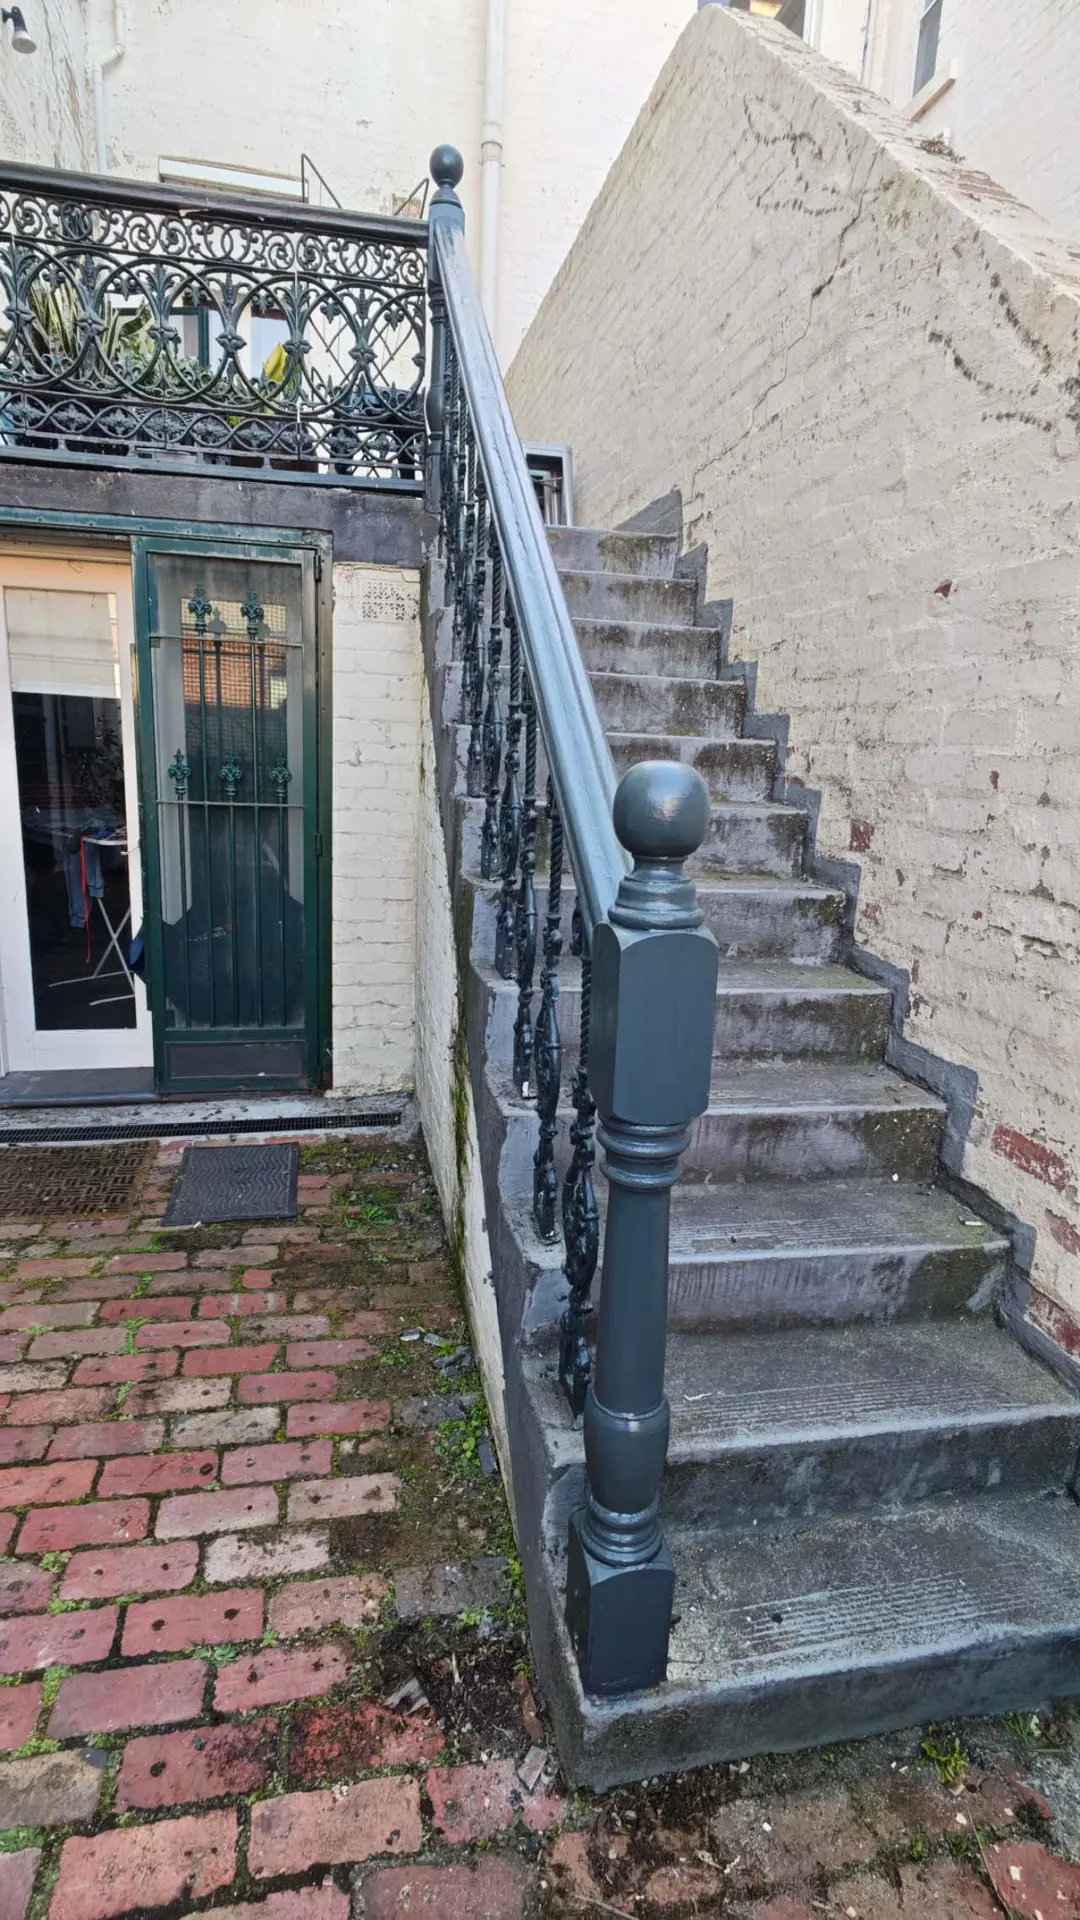 After
Gate landing path taken out and re-poured
The path inside a white picket gate had cracked, patched and broken up along the step. The photos follow one run of path in order: the damaged surface, the old concrete removed and the base prepared, timber formwork and reinforcing mesh set, concrete placed and trowelled, then the finished surface and the step at the gate.
For a path, step or landing that has cracked, dropped or broken away, see general handyman and carpentry repairs. Send a close photo of the damaged surface and a wider view of what the path meets at each end, so repair or replacement can be discussed before work starts.
- Cracked concrete broken out and cleared
- Base prepared, formwork set and mesh laid before pouring
- New surface trowelled and stepped to meet the gate
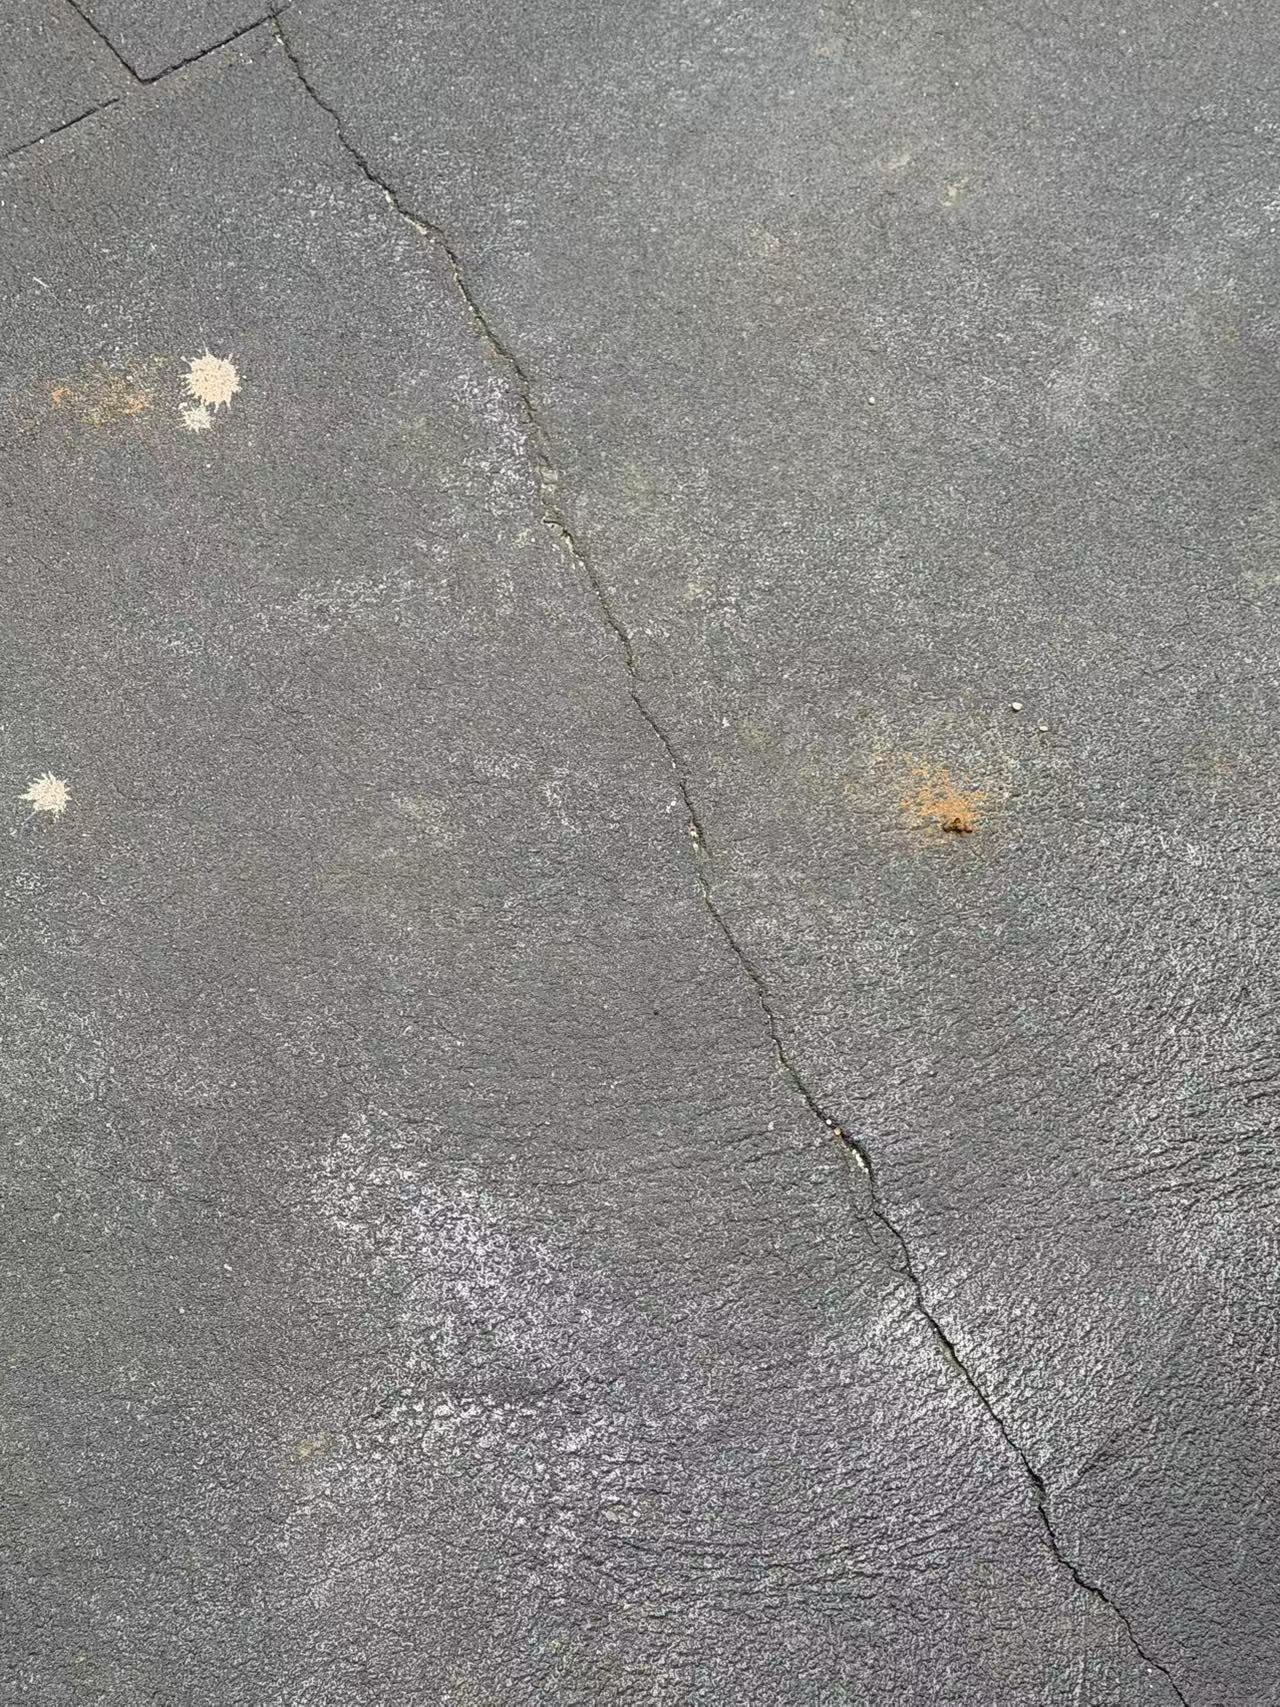 Before
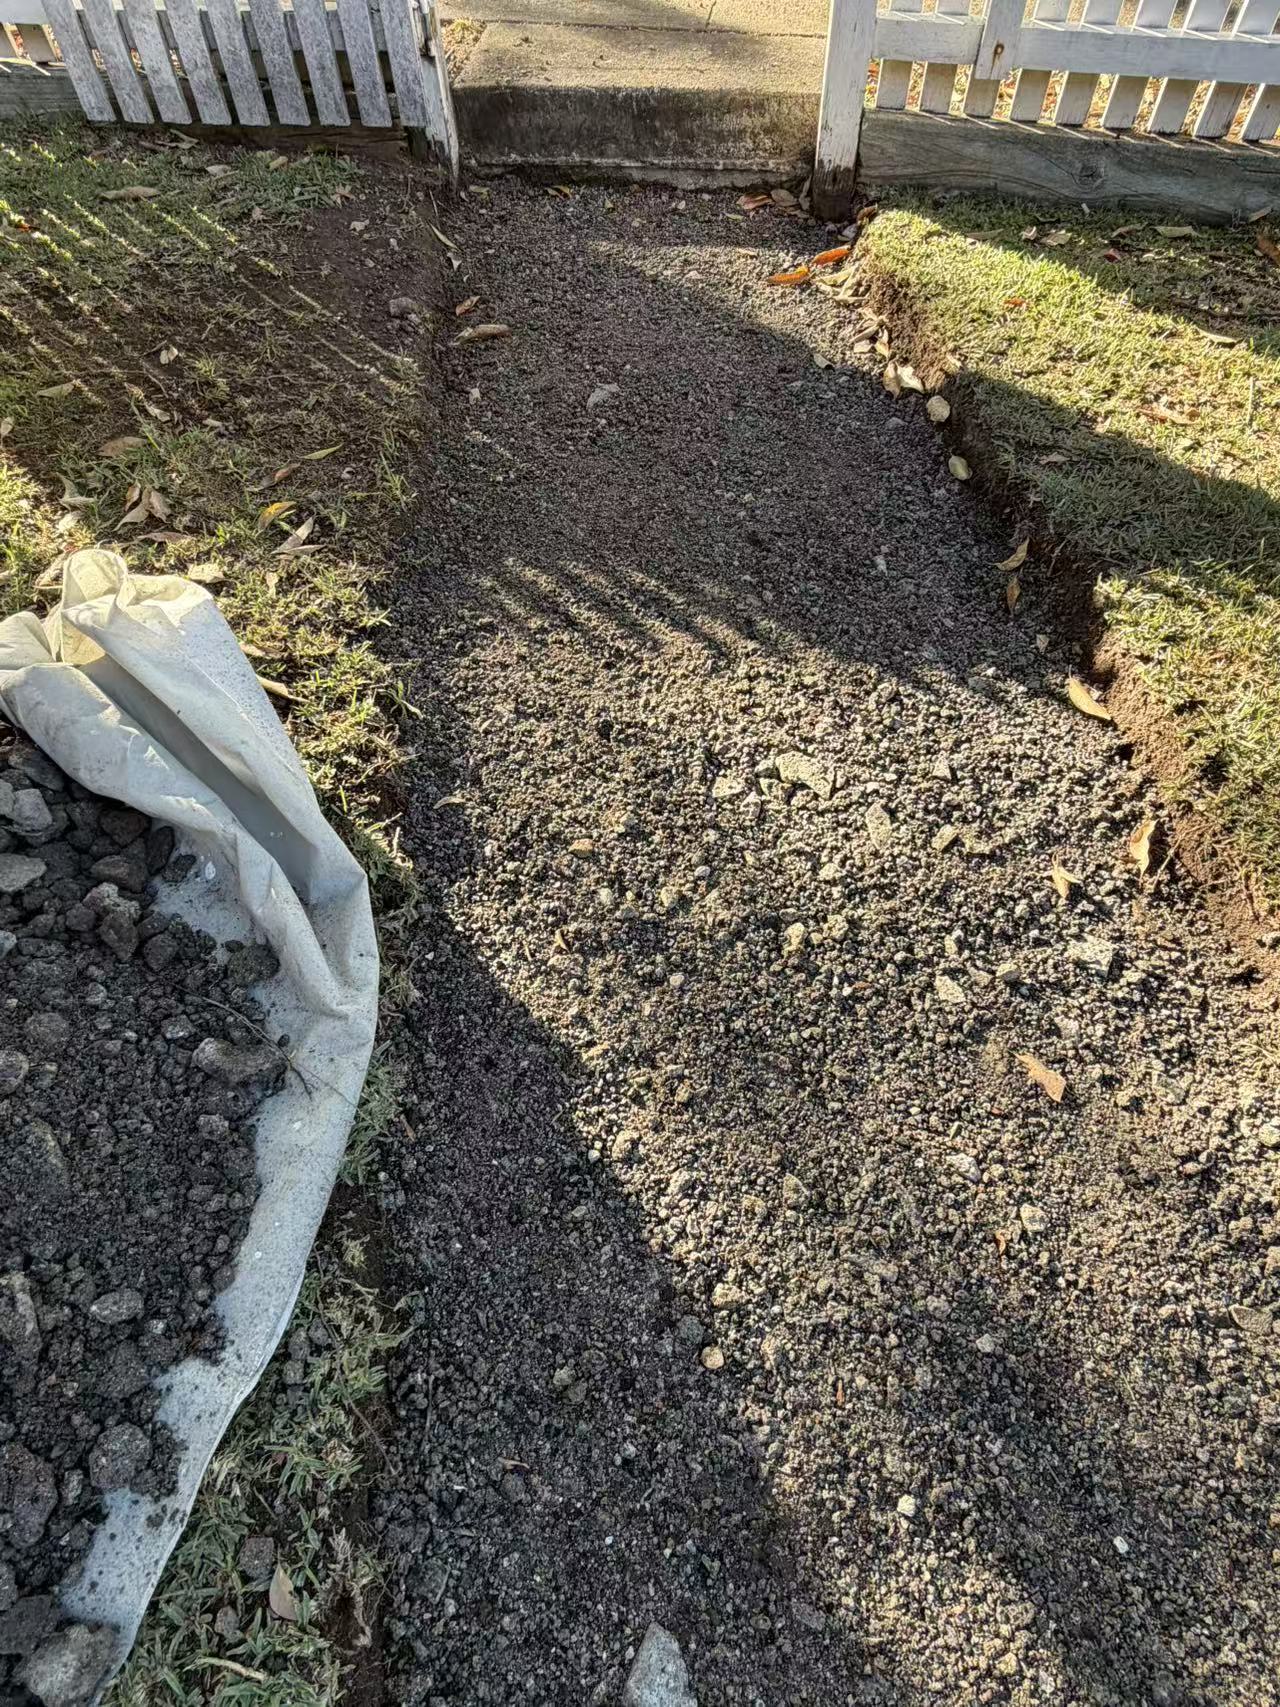 Base prepared
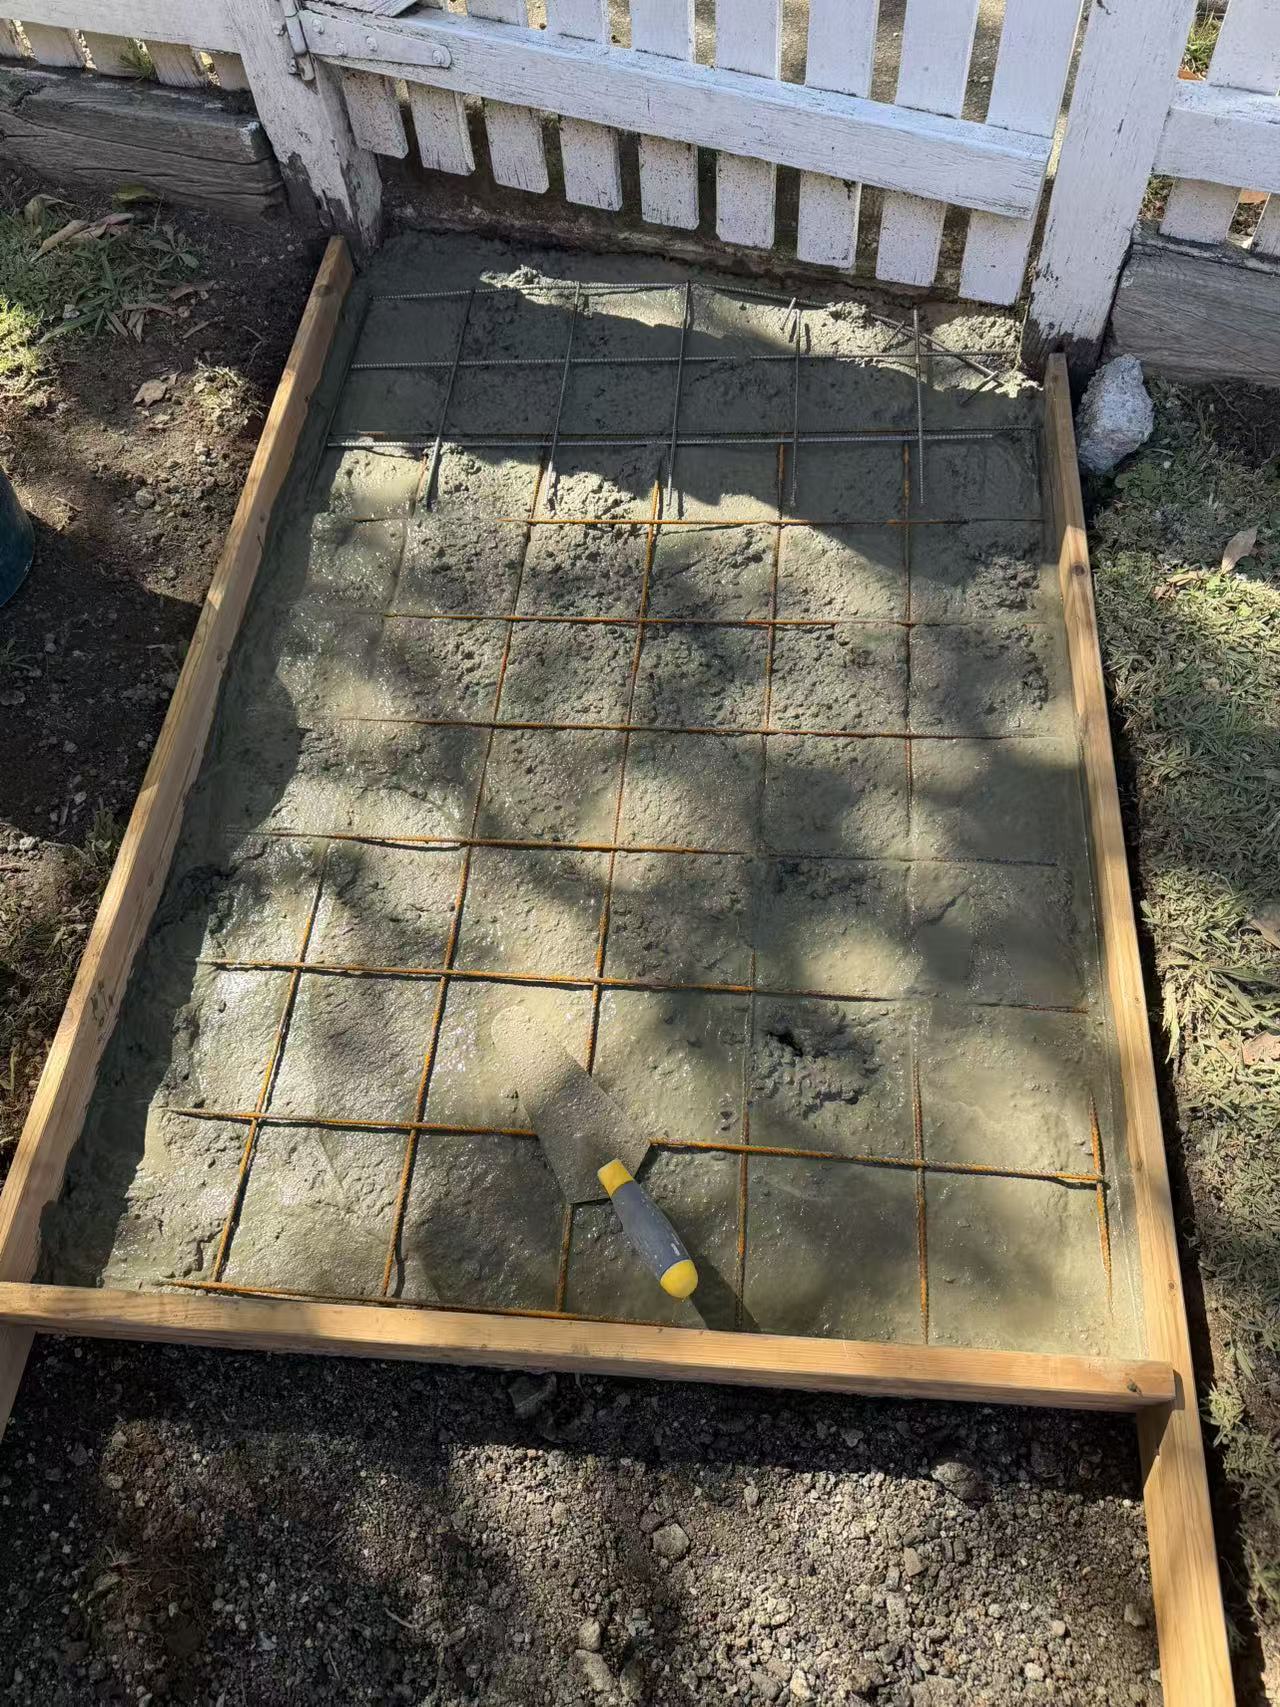 Formwork and mesh
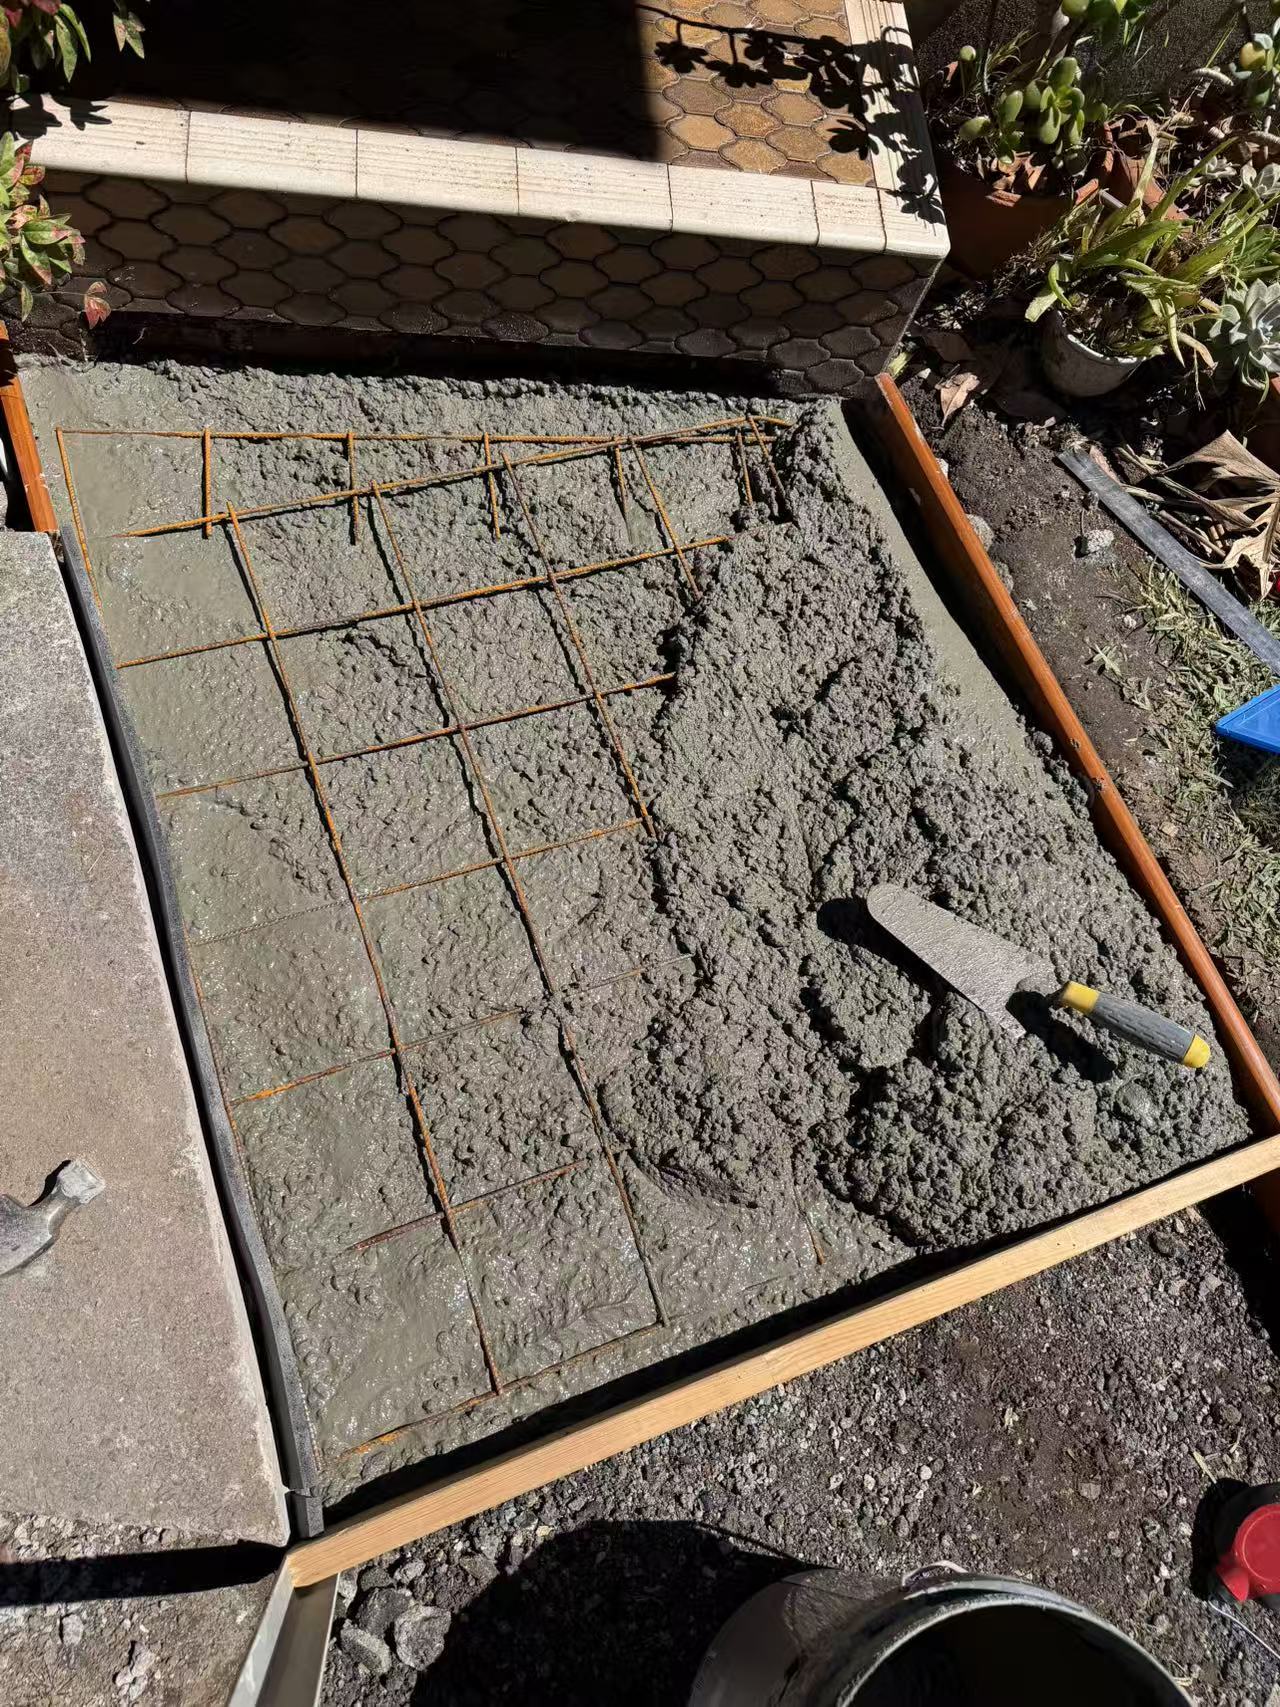 Pour
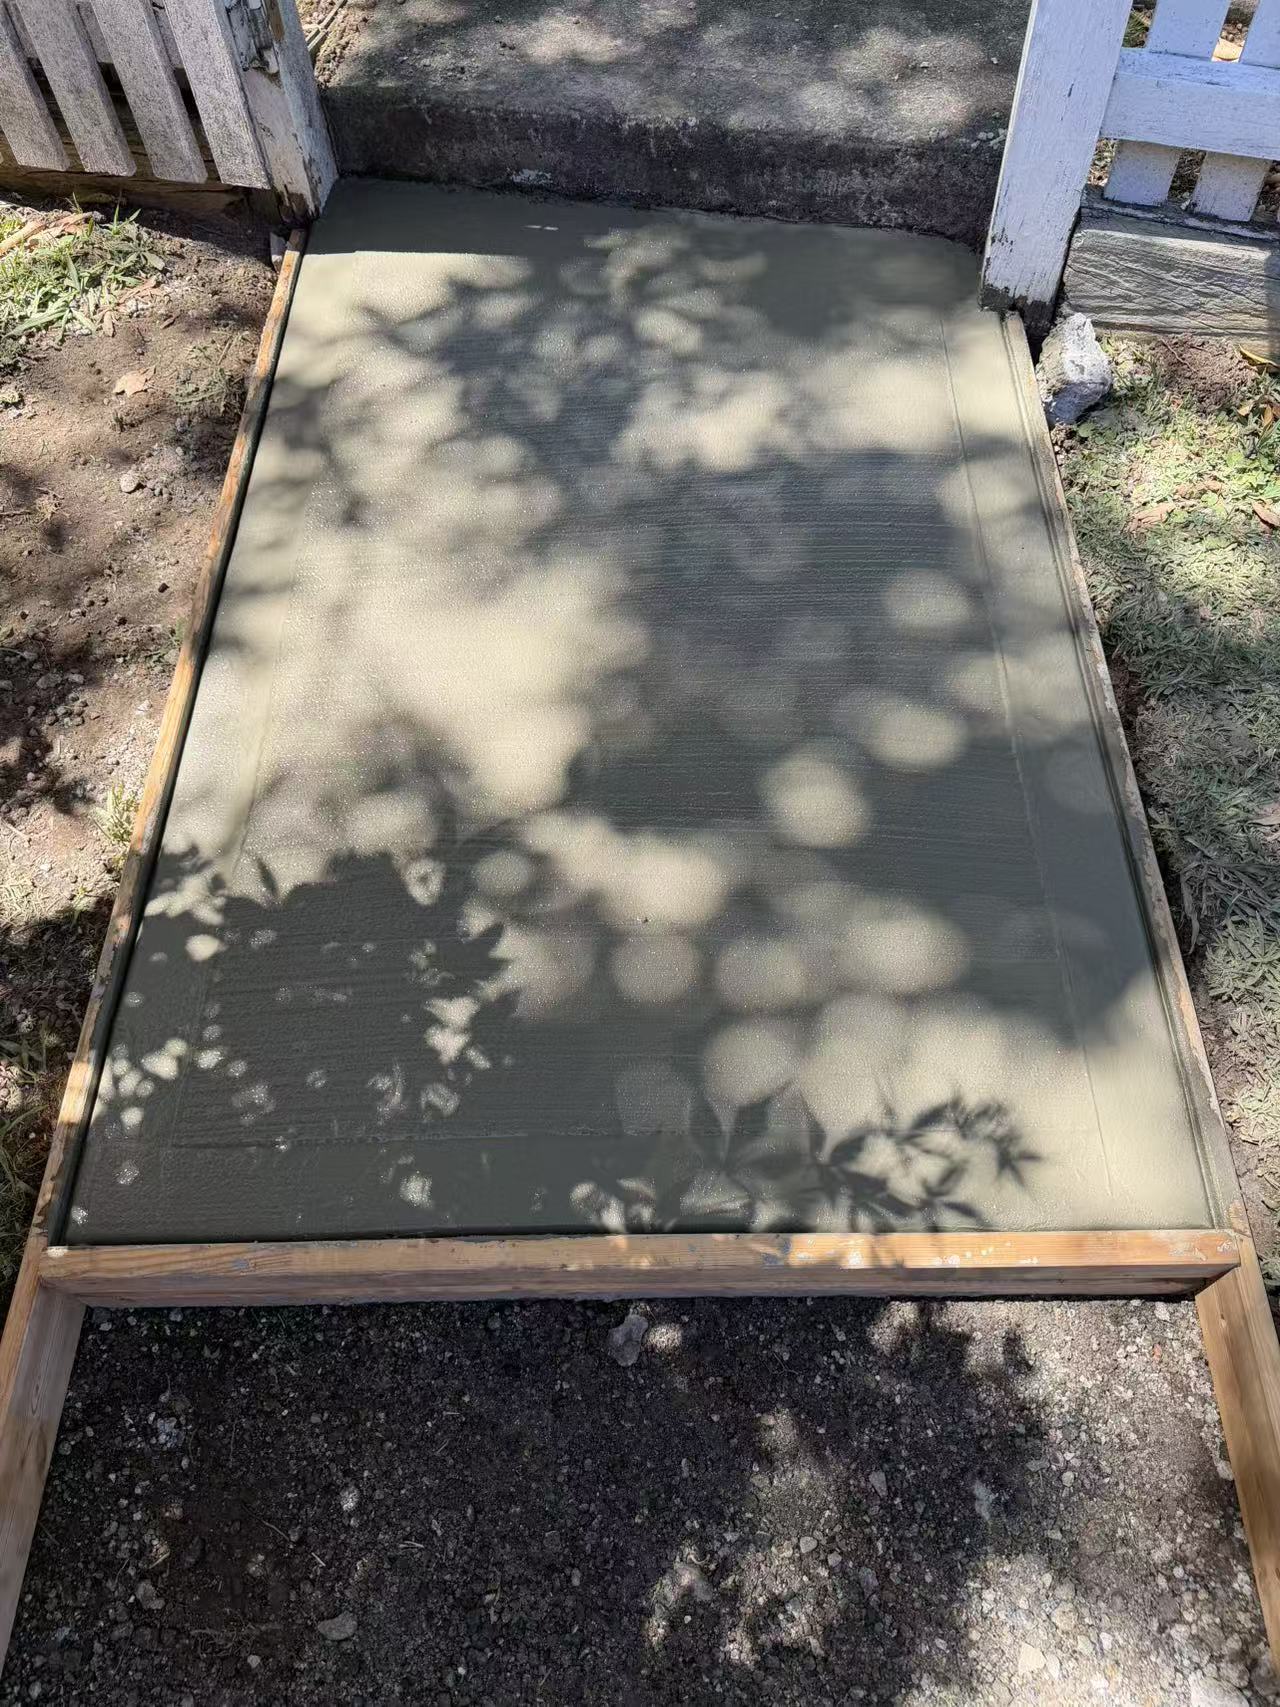 Completed
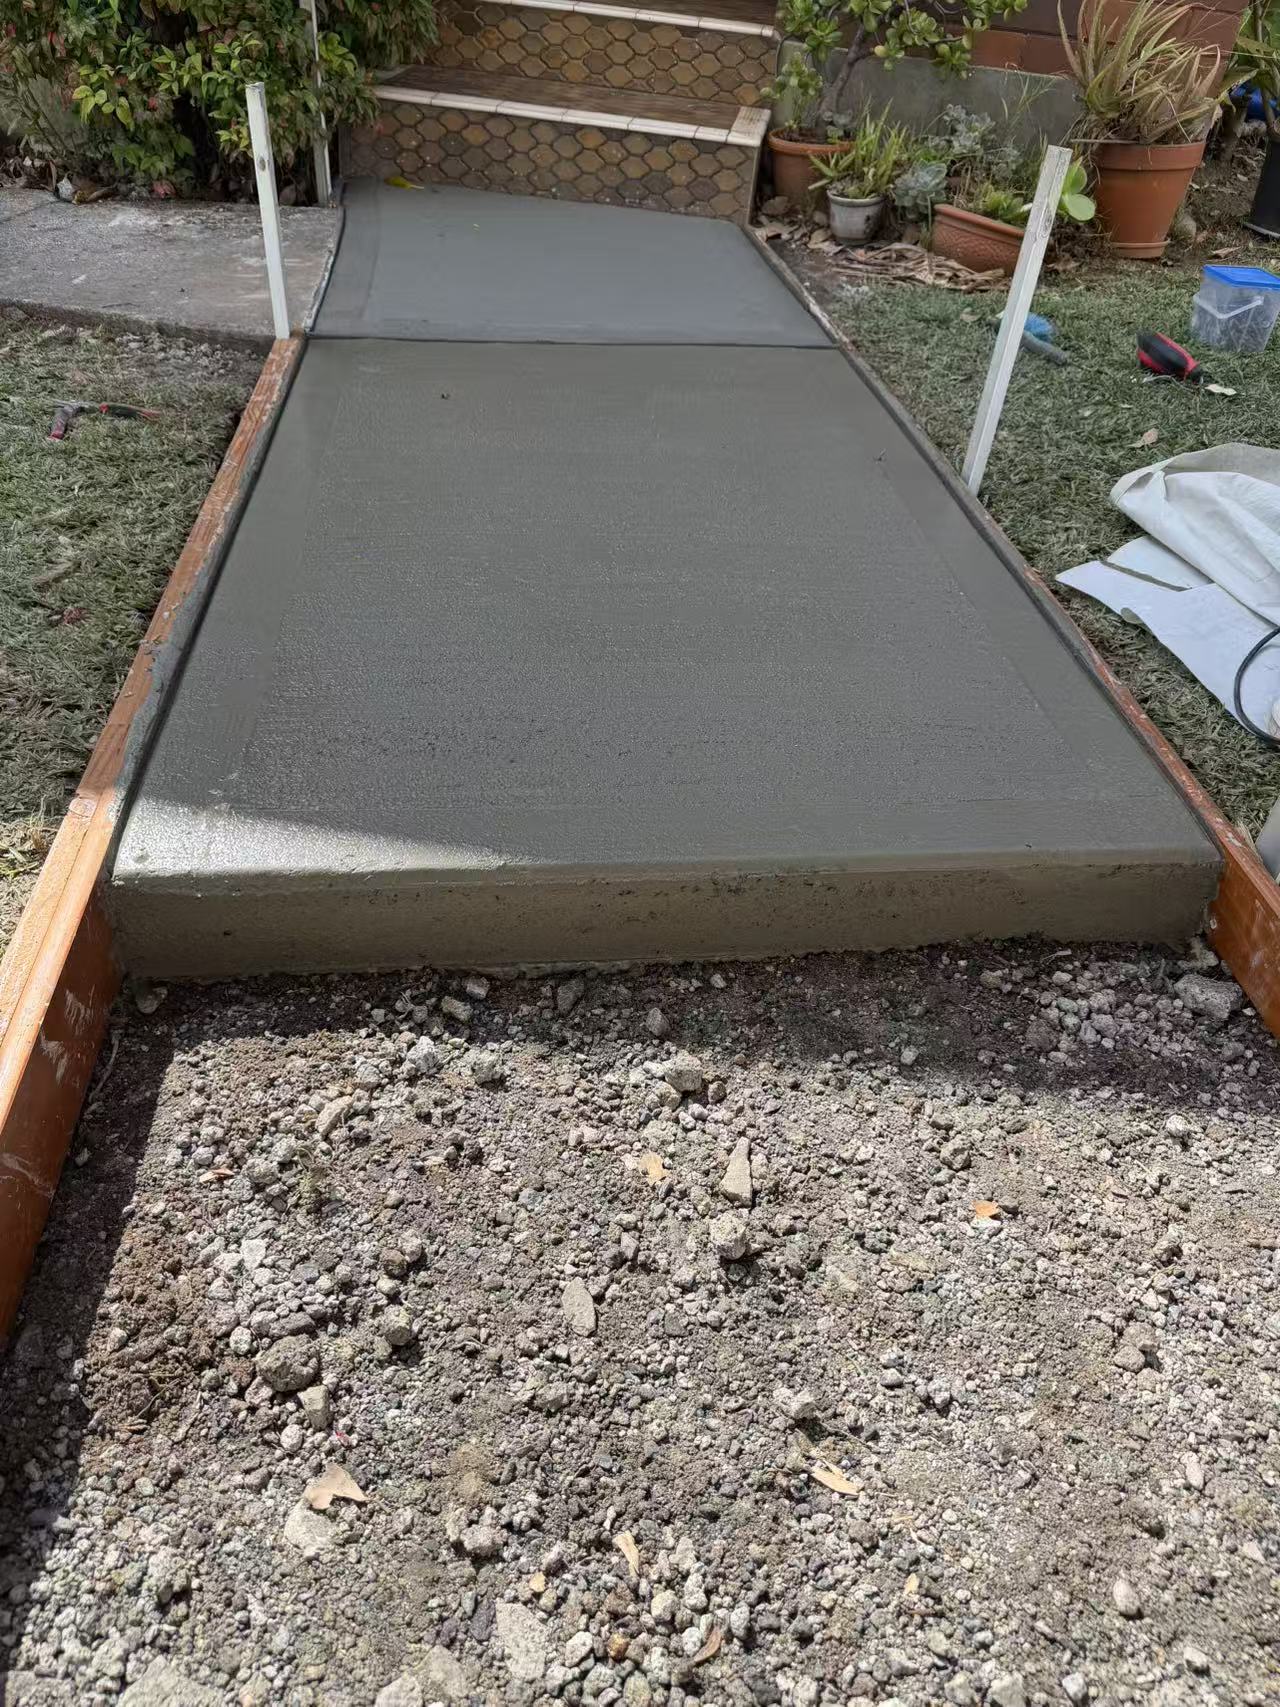 Step at the gate
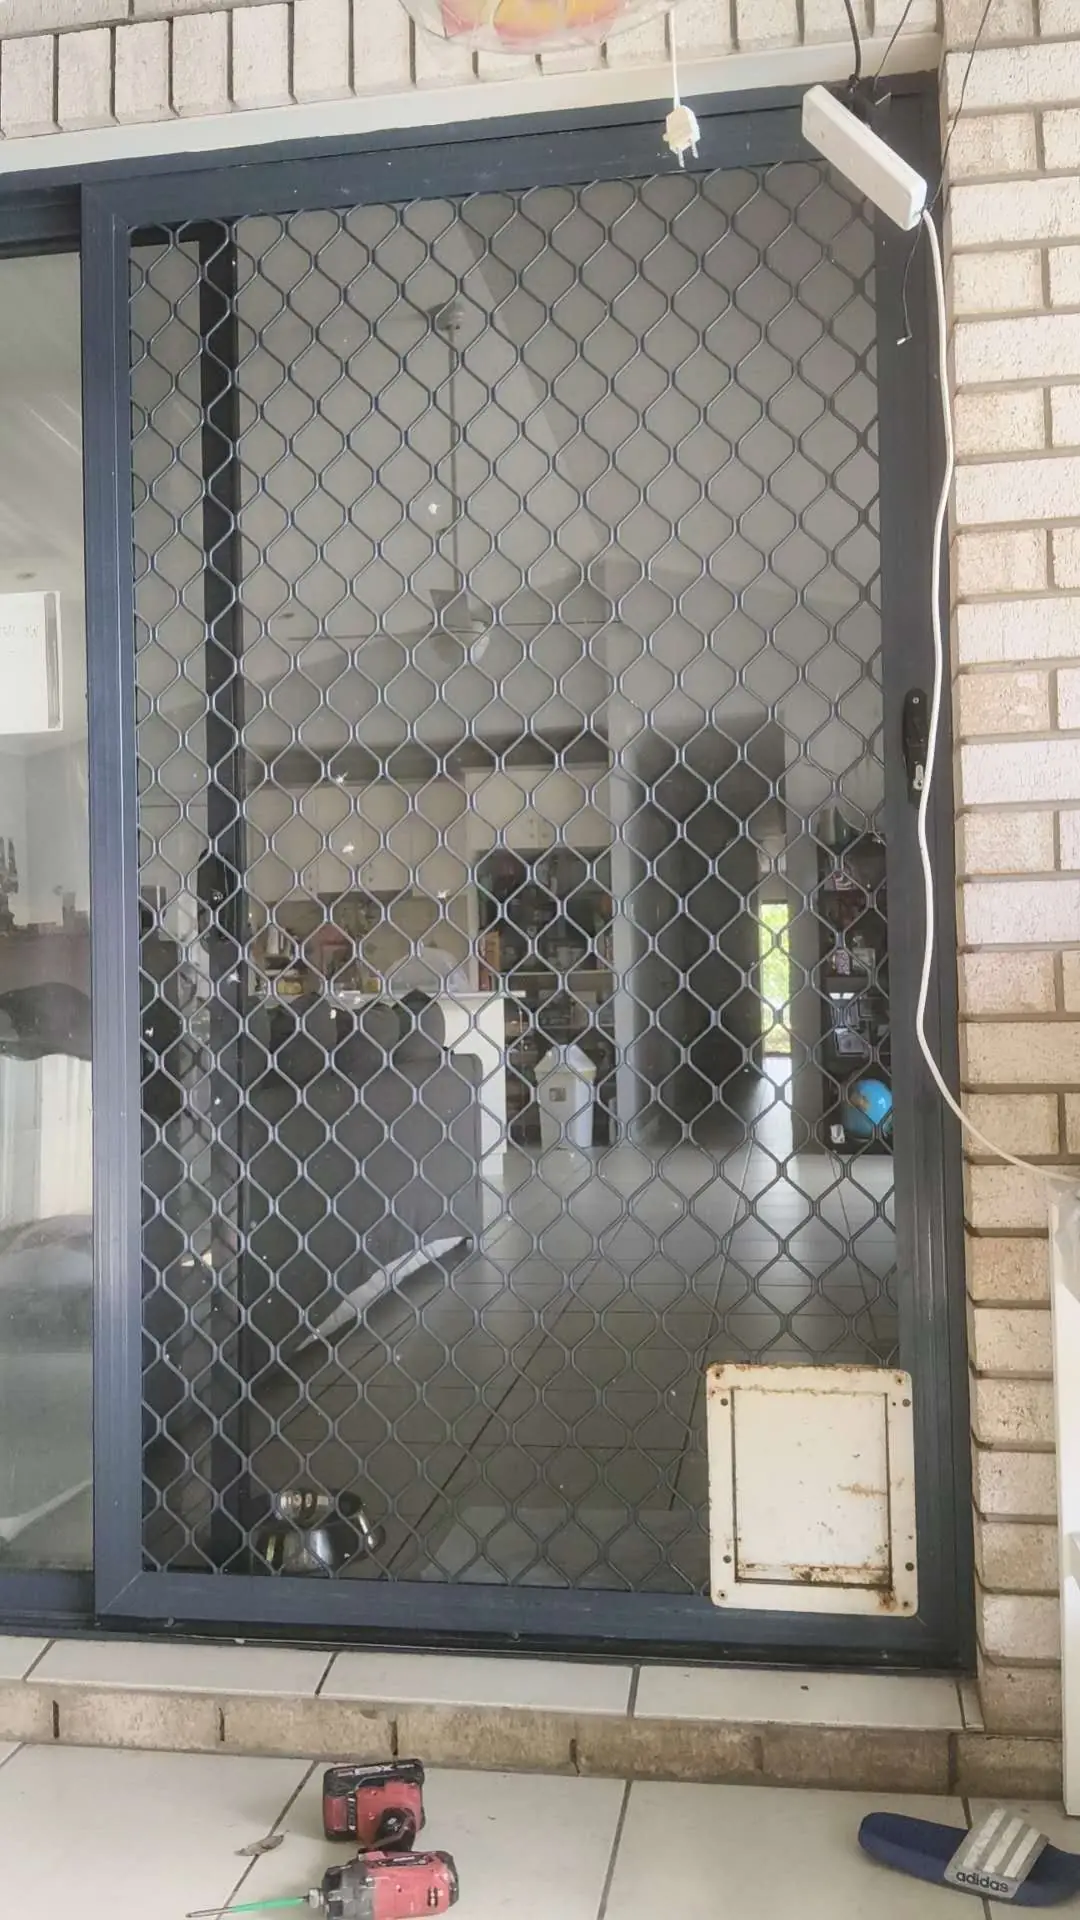
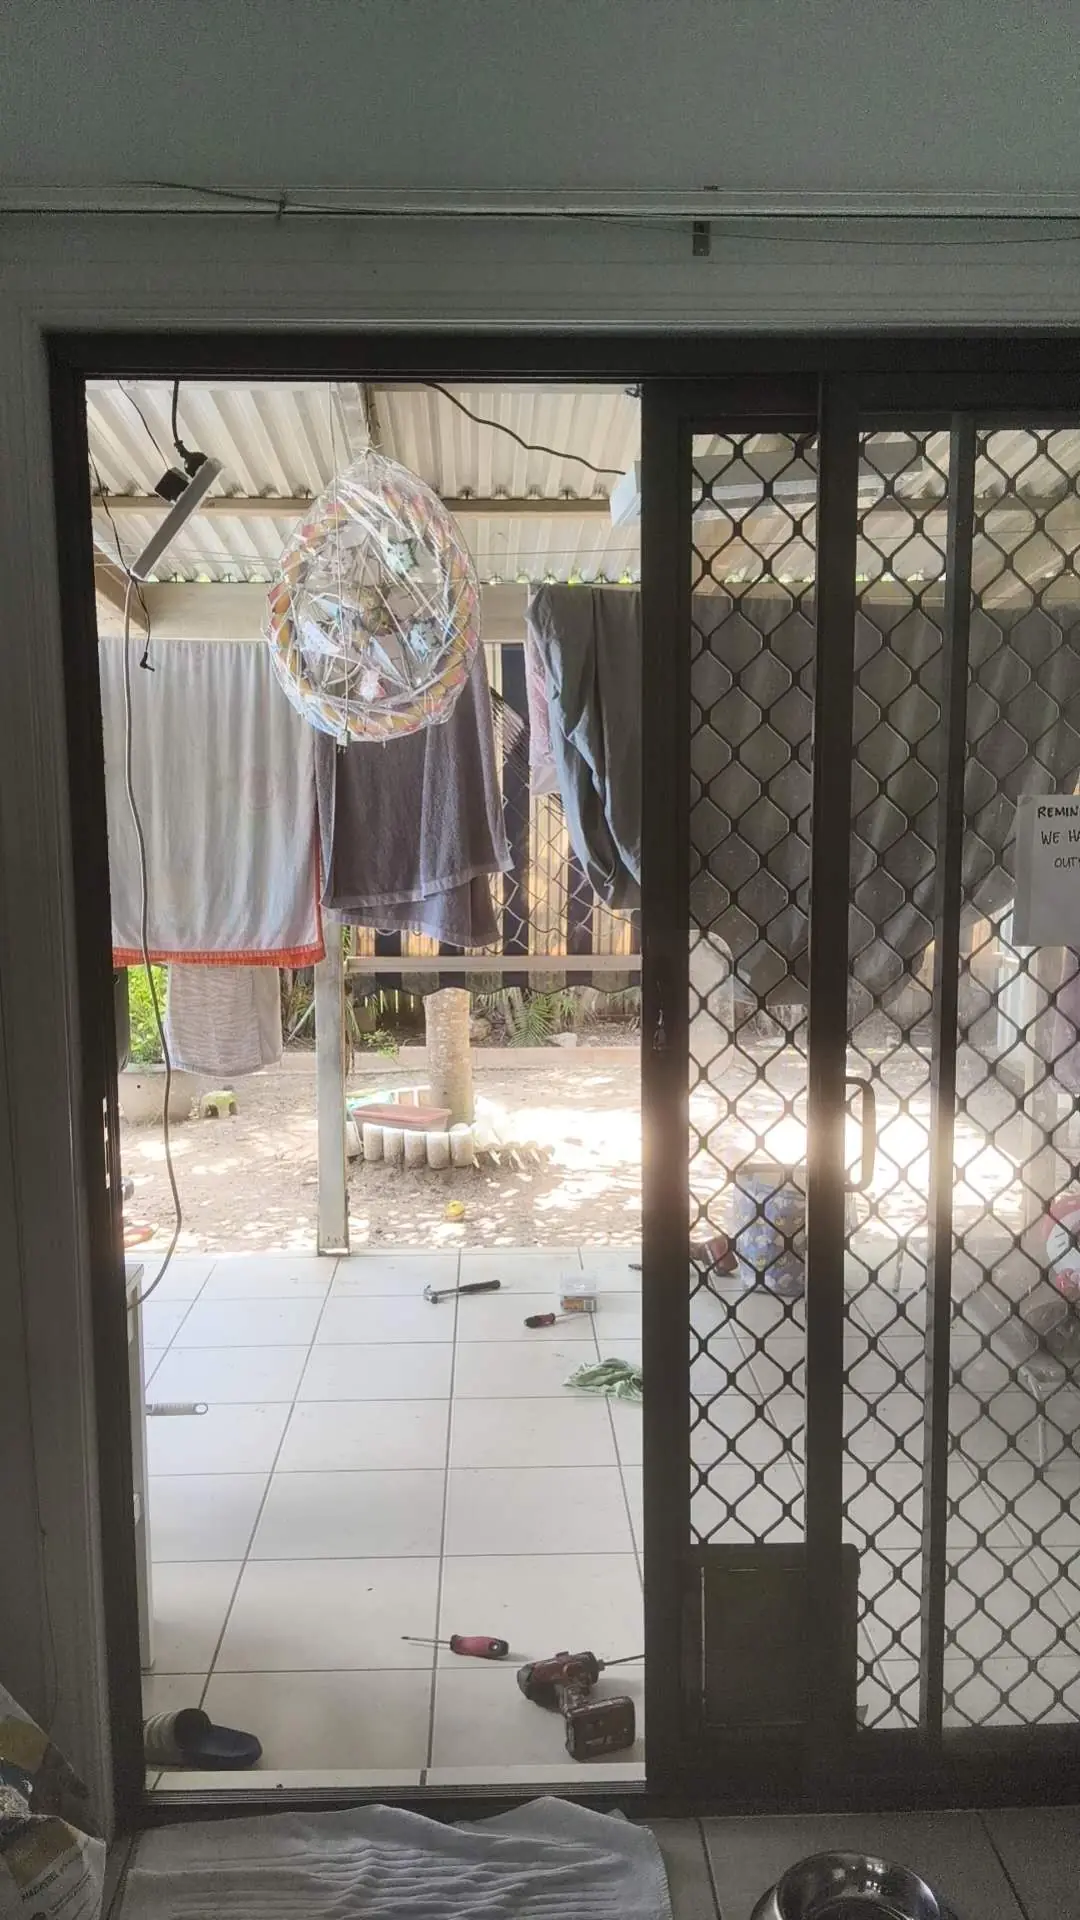
Sliding screen door: on-site photos
These two on-site views show a dark-framed sliding screen door with grille and mesh, an existing pet flap, and the surrounding doorway. One view shows the door across the opening; the other shows it partly open.
Have a door or small repair to sort out?
Send the job details and suburb through the enquiry form. To share photos, email them separately to handyman.kevinlee@gmail.com.